Painting with Paint
Overview
This lab will introduce Paint to create and edit drawings. Paint is a basic paint program for simple illustrations. In this assignment we will create a Tessellation with Paint. Tessellations (also often called "tilings") are repeated geometric designs that cover a plane without overlaps and gaps. Tessellations can be traced back thousands of years and illustrate how mathematics and art can be combined.
Paint is a basic software program for image creation and symbol manipulation, please keep in mind that we want to look at a variety of tools in this course, and that we want to experience how we can translate our creativity using different tools. Using Paint should make us appreciate additional options that more complex programs have to offer :)
Procedure
You may already have Paint on your computer. If you don't have Paint on your computer, all students have the option to use this software on Towson's virtual workspace. Check here for detailed instructions on how to use TU's virtual workspace.
Mac users can use a progam named Paint S (available in the app store), which has a similar interface, or can also use Towson's virtual workspace.
-
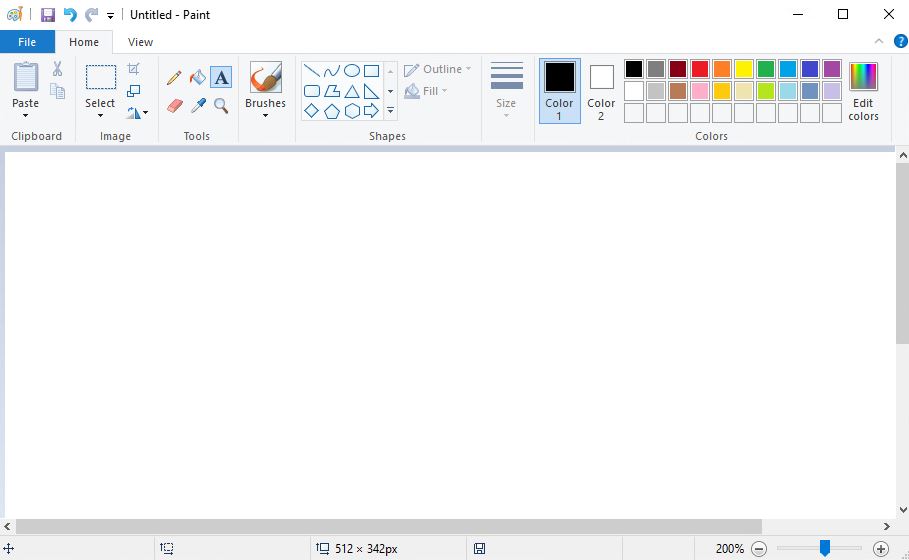
Open Paint by selecting Start / Paint. The Paint toolbar is displayed towards the left of the screen. Use your mouse and move slowly over the icons shown in the toolbar to see an explanation of the tool.
- Good to know before we begin creating our artwork....
-
This exercise will use geometrical or irregular shapes. Below are some sites you can consult for some ideas of shapes to use for your tessellation.
-
Practice by drawing some rectangles and triangles. Fill them with color and use the Image / Flip and Rotate features on these shapes.
-
Set the dimensions for the tessellation. Select File / Image Properties, and set width=512 pixels and height=342 pixels.
-
Decide on your shape and draw the shape on the canvas. It does not matter if your shape is simple or sophisticated. It is usually easier to use the outline mode (the top shape in the options for selected tools box) when drawing the shape and filling the shape with color later. You may want to consider that some shapes can be created by drawing and connecting multiple smaller shapes. For example, a hexagon could be created from triangles. Just remember that there can be no overlaps and gaps.
-
Save your file as a .gif file. Since Paint is a somewhat basic tool, saving the shape ensures that we always can go back to the original shape.
-
Fill parts or all of the shape with colors of your choice.
-
Now copy and paste the shape. Draw a rectangle around your finished shape using the select tool and select Clipboard / Copy. Now select Clipboard / Paste. Move the shape so that it is directly adjacent to the original shape (it is most likely directly on top of your original shape). You may have to flip or rotate your shape by using Image / Flip-Rotate. Please consider that the rotation feature in MS Paint is somewhat limited and allows only 90, or 180 degrees rotation.
-
Save your file again as a .gif file, but this time use a different file name.
-
Repeat this process until all of the white space is covered.
-
Write your full name and section on your artwork. Select the Text Tool (the letter A), and in the top toolbar set the font and size of your text. Make sure to select the text tool in the tool palette first (just click on the A) to ensure that the text toolbar is active. Draw a large text box on your tessellation and set the text size to at least 14.
-
Textboxes can have a white or transparent background. Once you click on the text tool in the tool palette (click the A), the options of Opaque or Transparent (may also show as a checkbox Background Fill) let us select the type of background. Either white or transparent background is fine, select the background you would like to show with your text box.
-
Save the file using File / Save As and select the .gif file format for this work.
Once you click on a tool, the toolbar for this specific tool appears at the top right below the main menus.
To draw a circle, click on shapes and use the ellipse tool and hold down the shift key while dragging out an ellipse, this constrains the form to a circle.
To draw a square, use the rectangle tool and hold down the shift key while dragging out a rectangle, this constrains the form to a square.
To draw (somewhat) more regular polygons, hold down the shift key while drawing the form, this constrains all angles to 45 or 90 degrees. This feature is helpful when drawing triangles.
When cutting and
pasting objects, make sure to draw the rectangle only as big as the object and
don't go beyond the corners of the object. If the selection rectangle is
larger than the original object, the additional selected area is also copied
as white space.
Please also see these additional resources on using Paint:
https://www.youtube.com/watch?v=F9i8AH1BB6Q
https://www.wikihow.com/Use-Microsoft-Paint-in-Windows
Grading Criteria
- Tessellation must cover the plane without overlaps and gaps
- Tessellation may not have white space around the sides
- Shape must be repeated at least 8 times
- Image must contain your name, course number and section
- Final Image must be in .gif file format
Submitting your file
- Access Blackboard and login.
- Select Discussions
- Select the Painting with Paint discussion.
- If you like, browse the other messages.
- Enter your message in the Response Field
- Message: Describe the shapes you used and how you arranged them. Share your experiences creating this project.
- Attach your file. You can add your file by using the attchment button (the paper clip on top, and then navigate to the location of your file), or you can simply drag and drop your file (from your local computer location into the response field)
- Your message and file should now show in the response field.
- Press Respond
- Check your work
©2024 by Gabriele
Meiselwitz