- Create a folder (Directory), and name it www (all lowercase...www)
- Create an index.html page inside this folder (this can be a page about you)
- Put your project folder (Project #2) inside the www directory, you can save this folder as project_2 (no capital letters, and no spaces).
- Once you have all of your files neatly organized into a folder, you may want to remove larger files from this folder.
...This may include .psd files, unused (large)image files, sound files, basically anything you are not using on your site, anything that doesn't need to be uploaded...

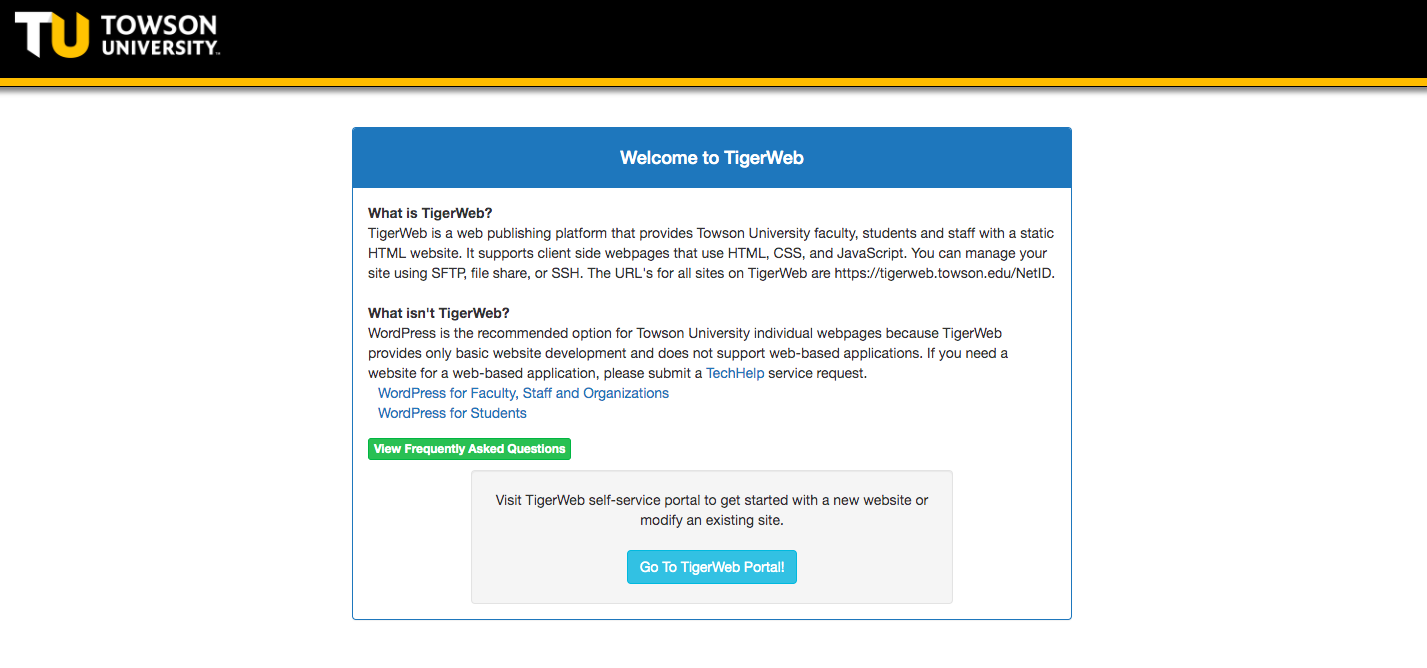
- Go to: https://tigerweb.towson.edu, and activate your site.
- You may need to click on a button to activate your website
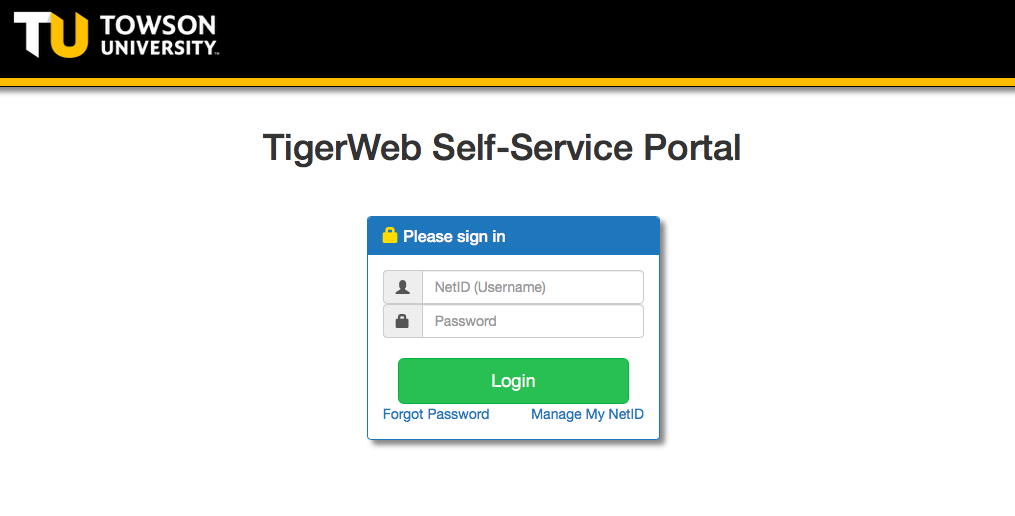
- To login, you will use your same username and password that you use to check your email at Towson
- username example: rsmith31
- After activating (clicking on a button)... "a blank website with a default HTML page is created"...
- This means, Towson creates a default index.html page, and puts it in your directory.
- It's up to you to change this blank index.html page.
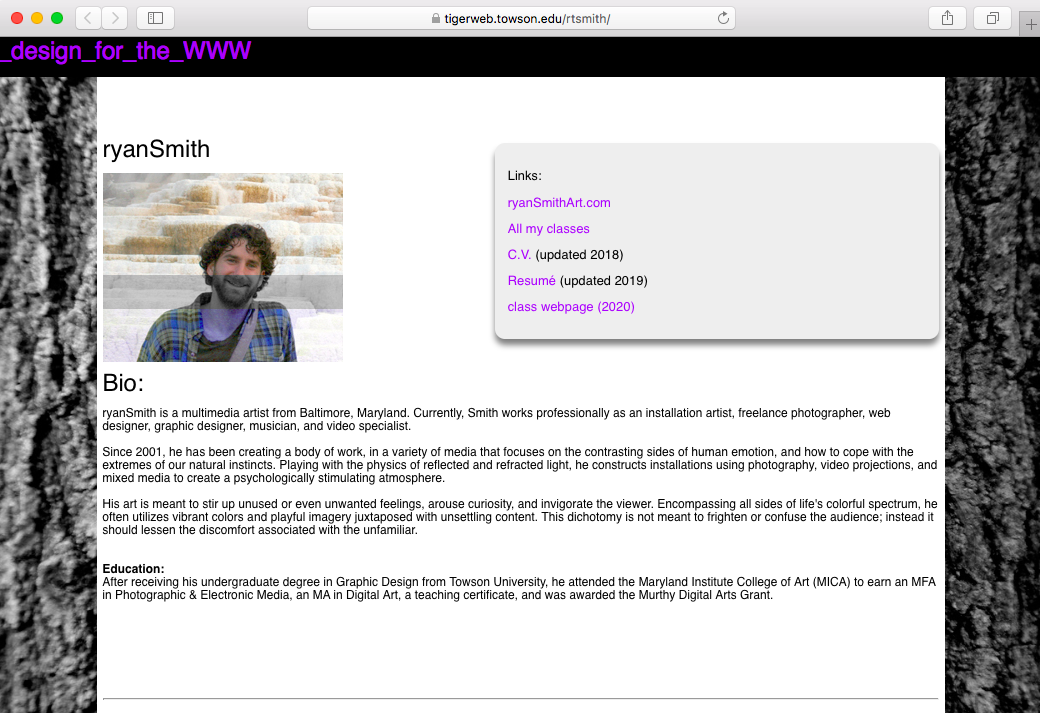
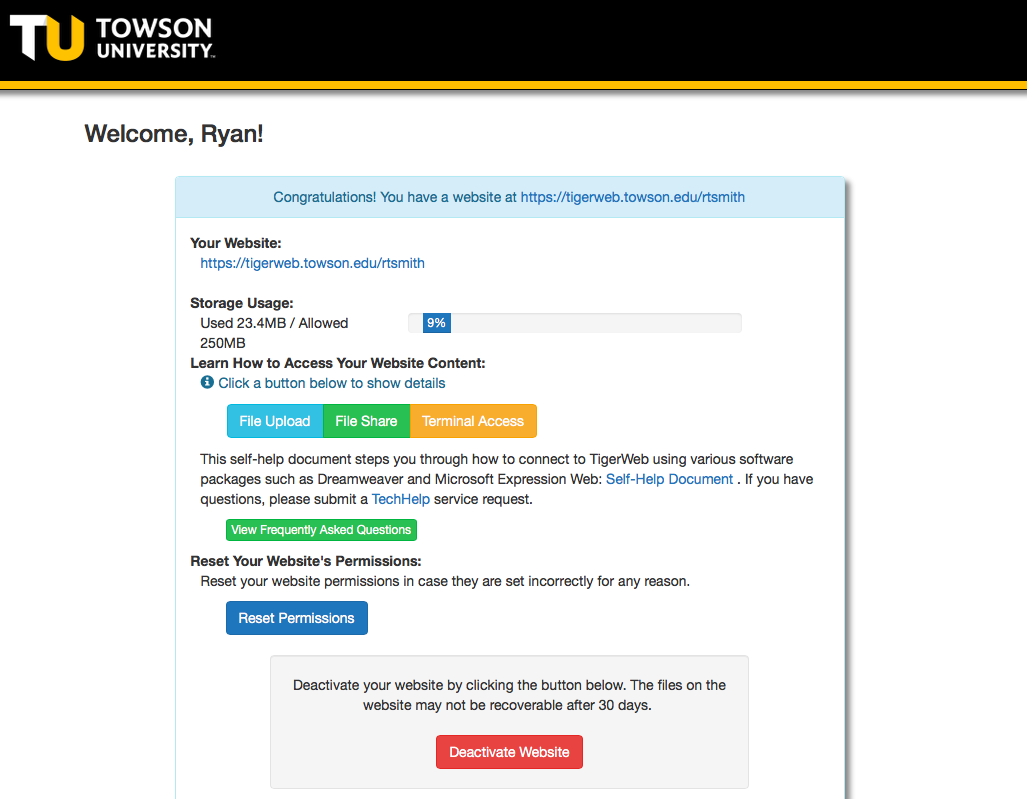
- After activating your website, it will give you your URL address. You might want to write it down, or copy/paste it.
- Example: https://tigerweb.towson.edu/rtsmith/
- You can use FTP (File Transfer Protocol) or SFTP (Secure F.T.P.), to move your files from your computer to the server space.
- And, you can always go back to tigerweb.towson.edu to "deactivate" your website.
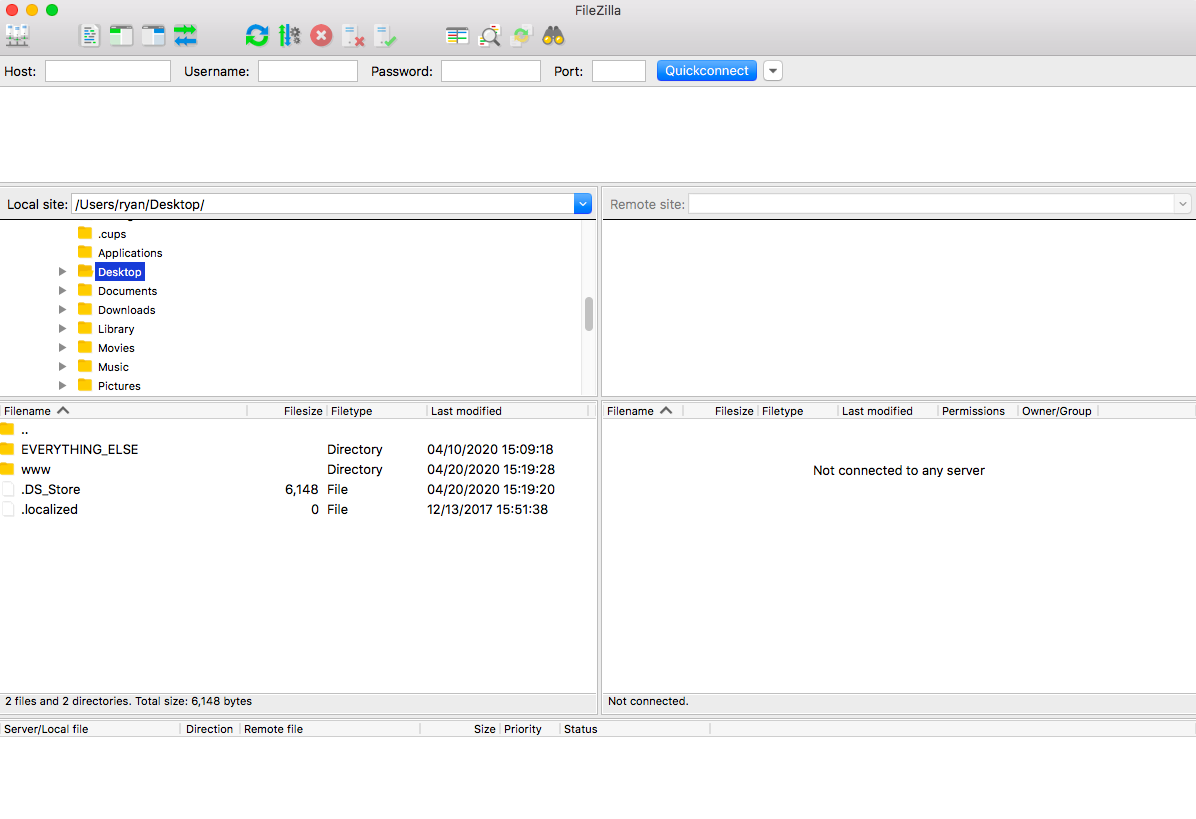
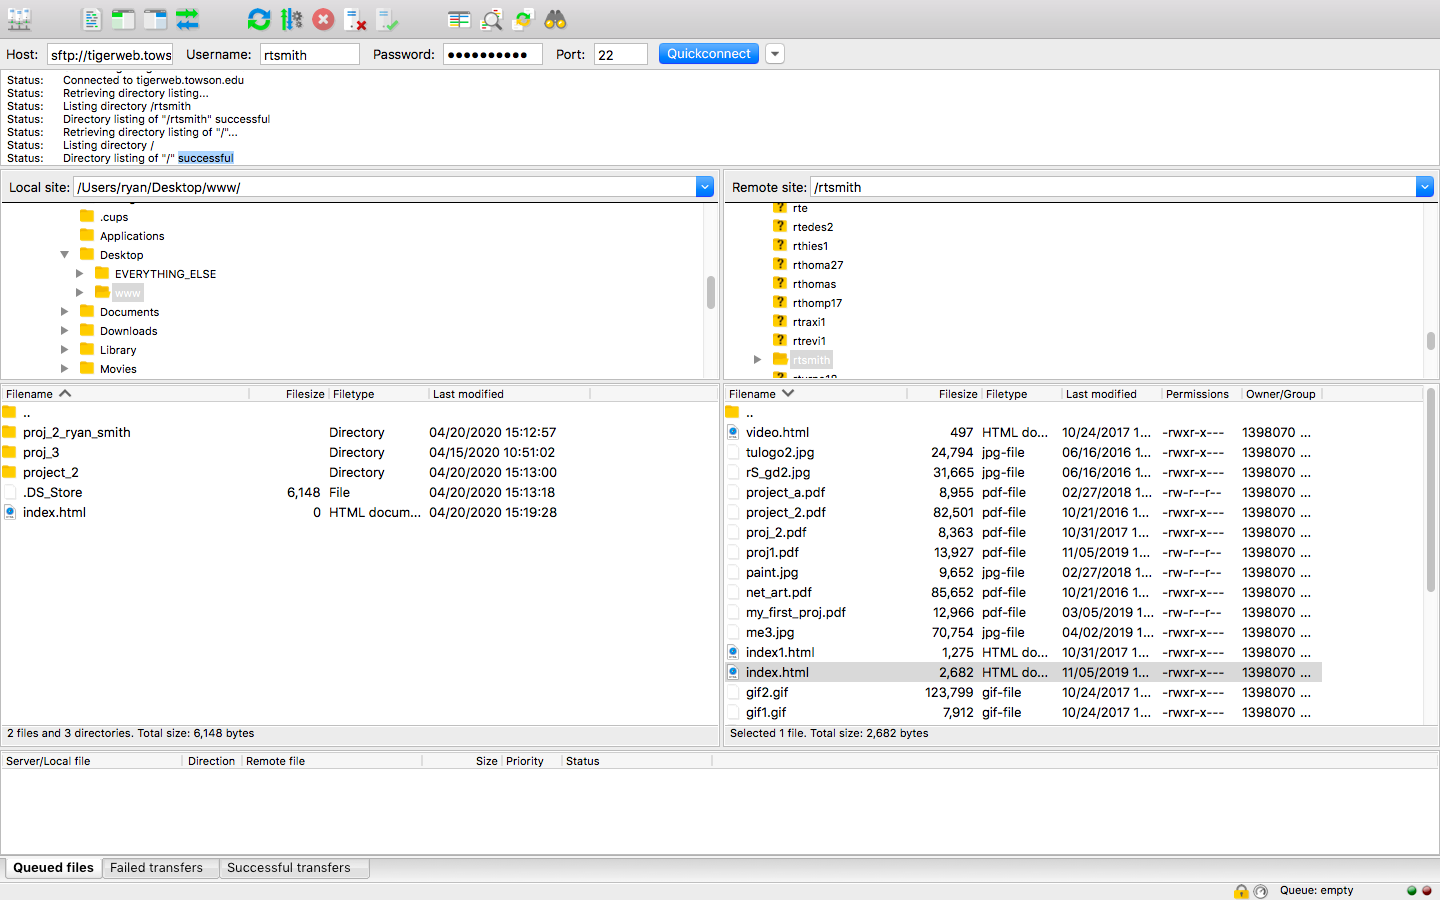
1 - OPEN FILEZILLA
2 - Locate your "local" files on your computer. This would be the directory/folder you created. (I put my www directory on the desktop).
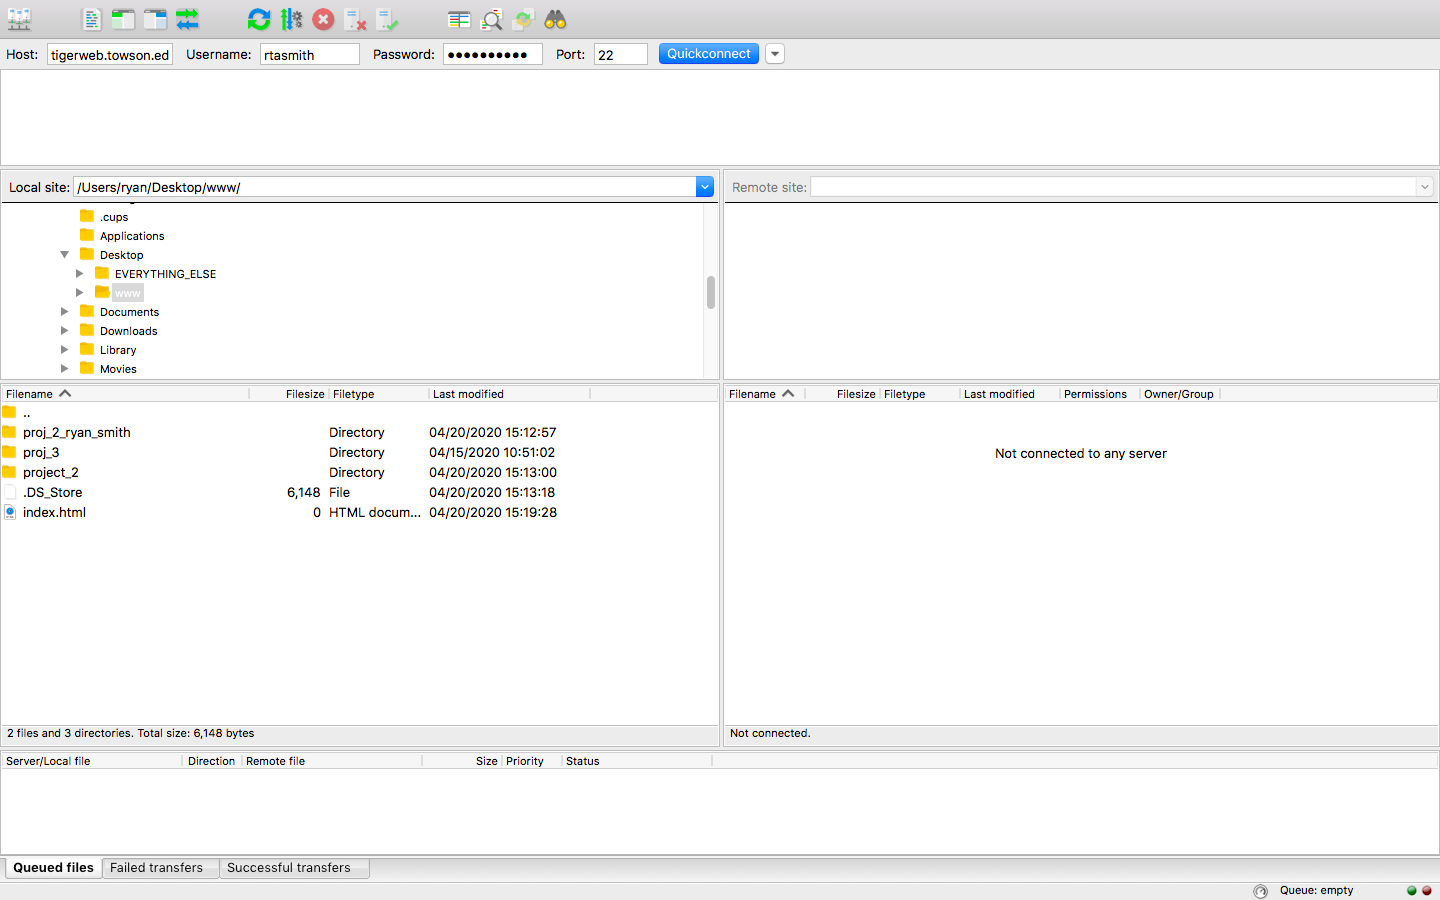
3 - Connect to Towson's server using the following info:
HOST: tigerweb.towson.edu
Username: your TU username
Password: the same password you use to check your email at TU.
Port: 22
(note: port #22 is SFTP or secure, but port 21 is not a secure FTP, if you you were wondering why we use the number 22)
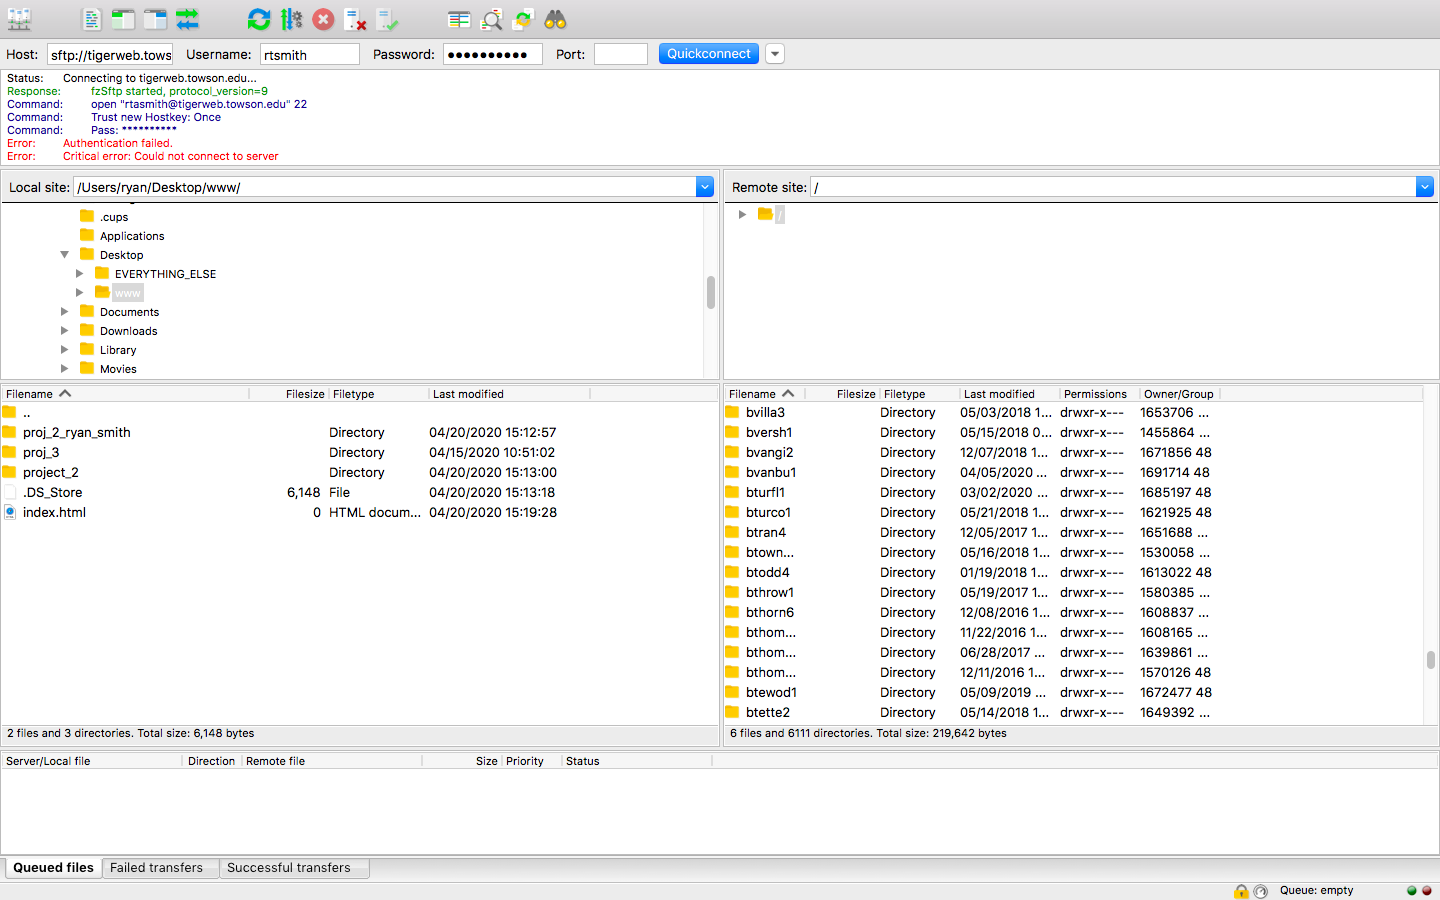
4 - While connecting, FileZilla will automatically add sftp:// to the beginning of the Host name.
5- If you misspell something, or don't type the correct Password, you will get an error message in red letters:
- Your "Local site" is the folder on your computer. I'm using a www directory on my desktop.
- Your "Remote Site" will be on Towson's server at: tigerweb.towson.edu
- Note: Anytime you want to make changes to the remote site, you must move the files from your harddrive to your remote directory, on Towson's server.
- For example, if I want to change my index.html page (https://tigerweb.towson.edu/rtsmith/index.html), then I would need to drag a new index.html page to the "rtsmith" directory.
-So, every time you want to update your site, you would open up FileZilla...
And, click & drag your files or folders from the left(local) window to the right side (remote site) window...
- If you want to delete a .html page, simply click on the files on the right, and press the Delete key on your keyboard.
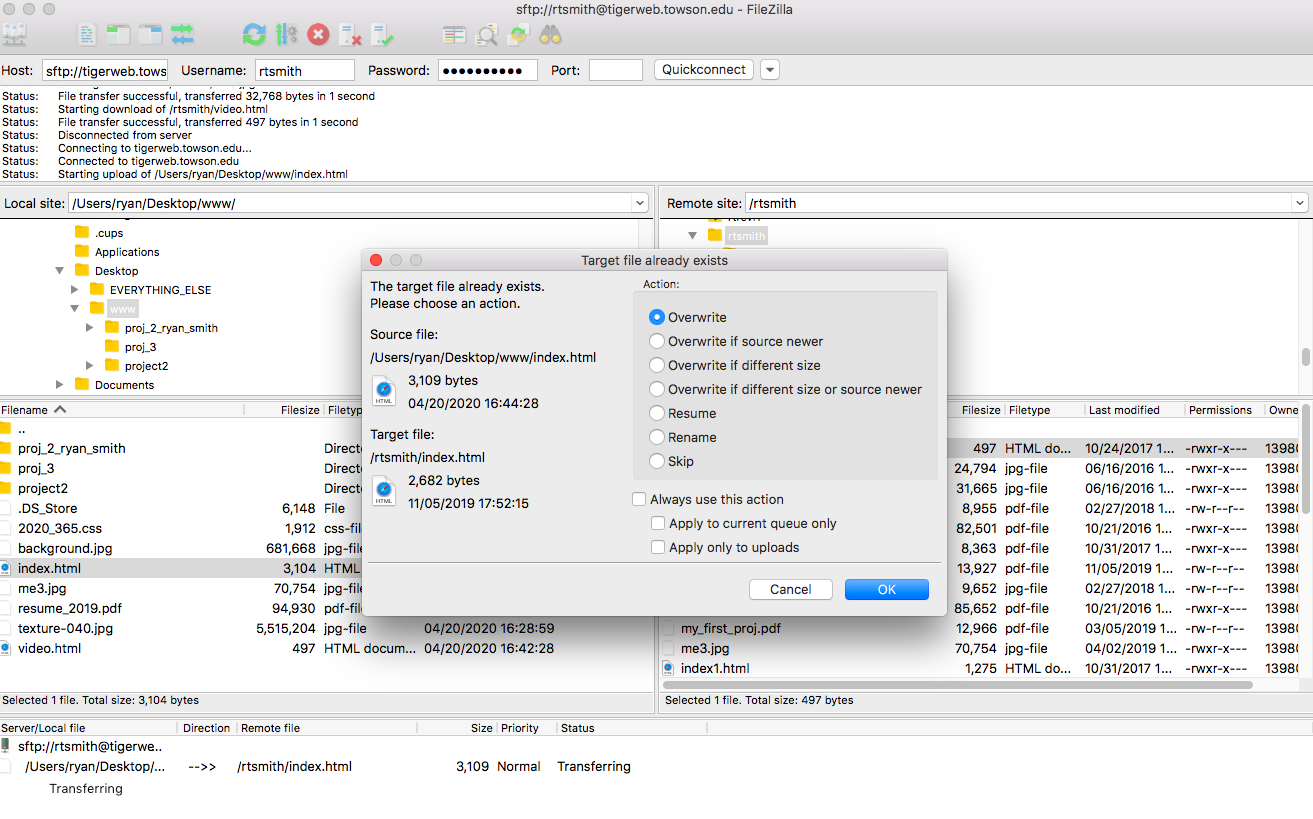
- When you replace files, it may ask you to "Overwrite".
- Typically, you would click "OK" to Overwrite the old file.
- Open up a web browser (safari, google chrome, explorer, opera, firefox, or microsoft edge).
- You can type in tigerweb.towson.edu
- Followed by your username...
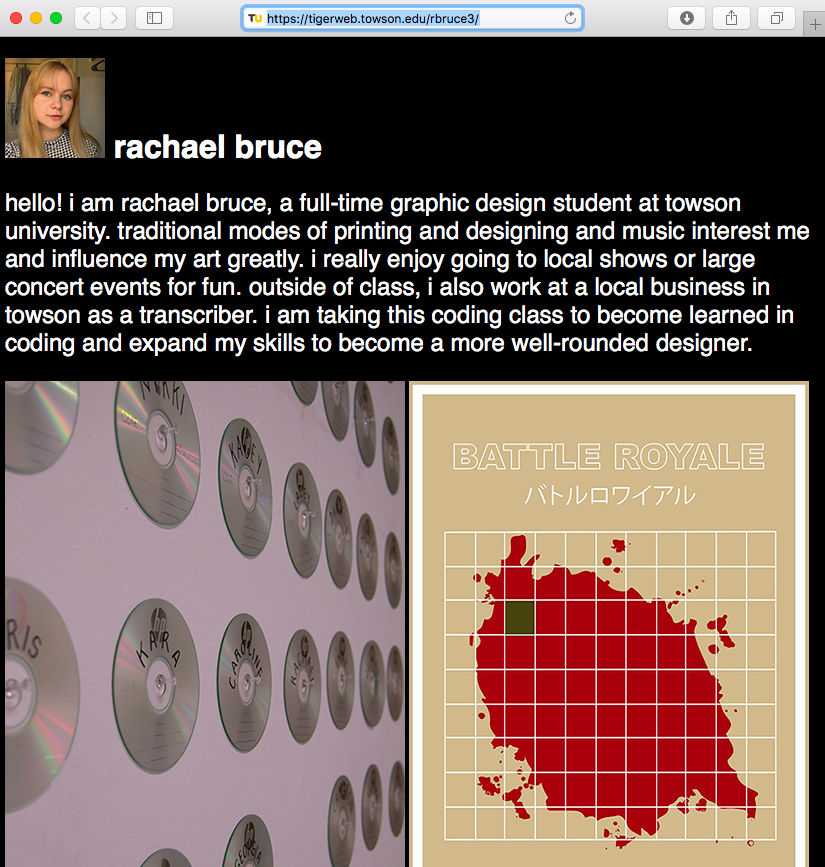
- Example: tigerweb.towson.edu/yourUserName/ or "tigerweb.towson.edu/rbruce3/"
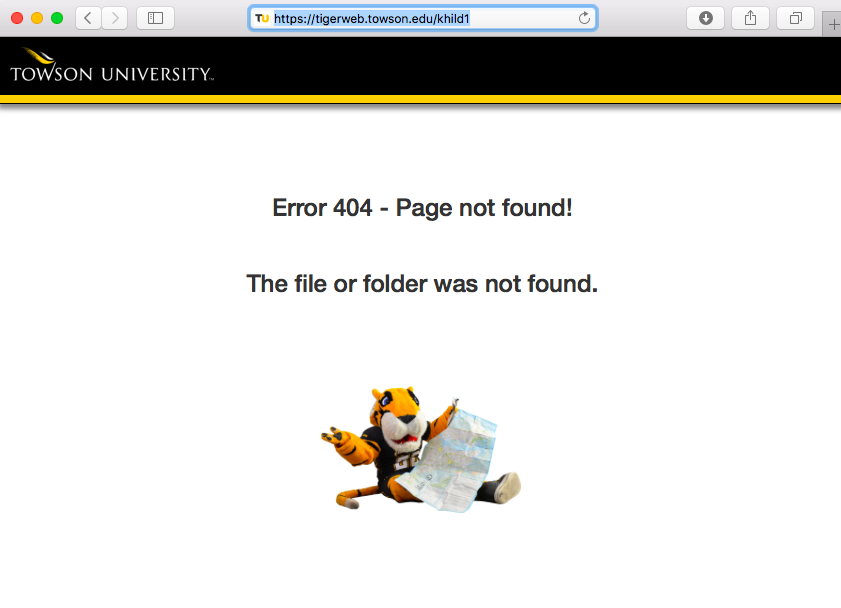
- If you never activated your site, or you haven't deleted your index.html page, you may see a blank page...
- If you delete your old index.html page, and add a new one, you can see it in a browser window
- The URL address should start with https://tigerweb.towson.edu/
- If you are using external CSS, make sure to put your .css page in the same directory with your index.html page.
- You can drag whole project folders to your "Remote" site.
- For example, I dragged my whole "project2" directory to the server.
- To view it, I would type out tigerweb.towson.edu/rtsmith/
- Followed by my folder name (this is case sensitive, pay attention to spelling and capitalization).
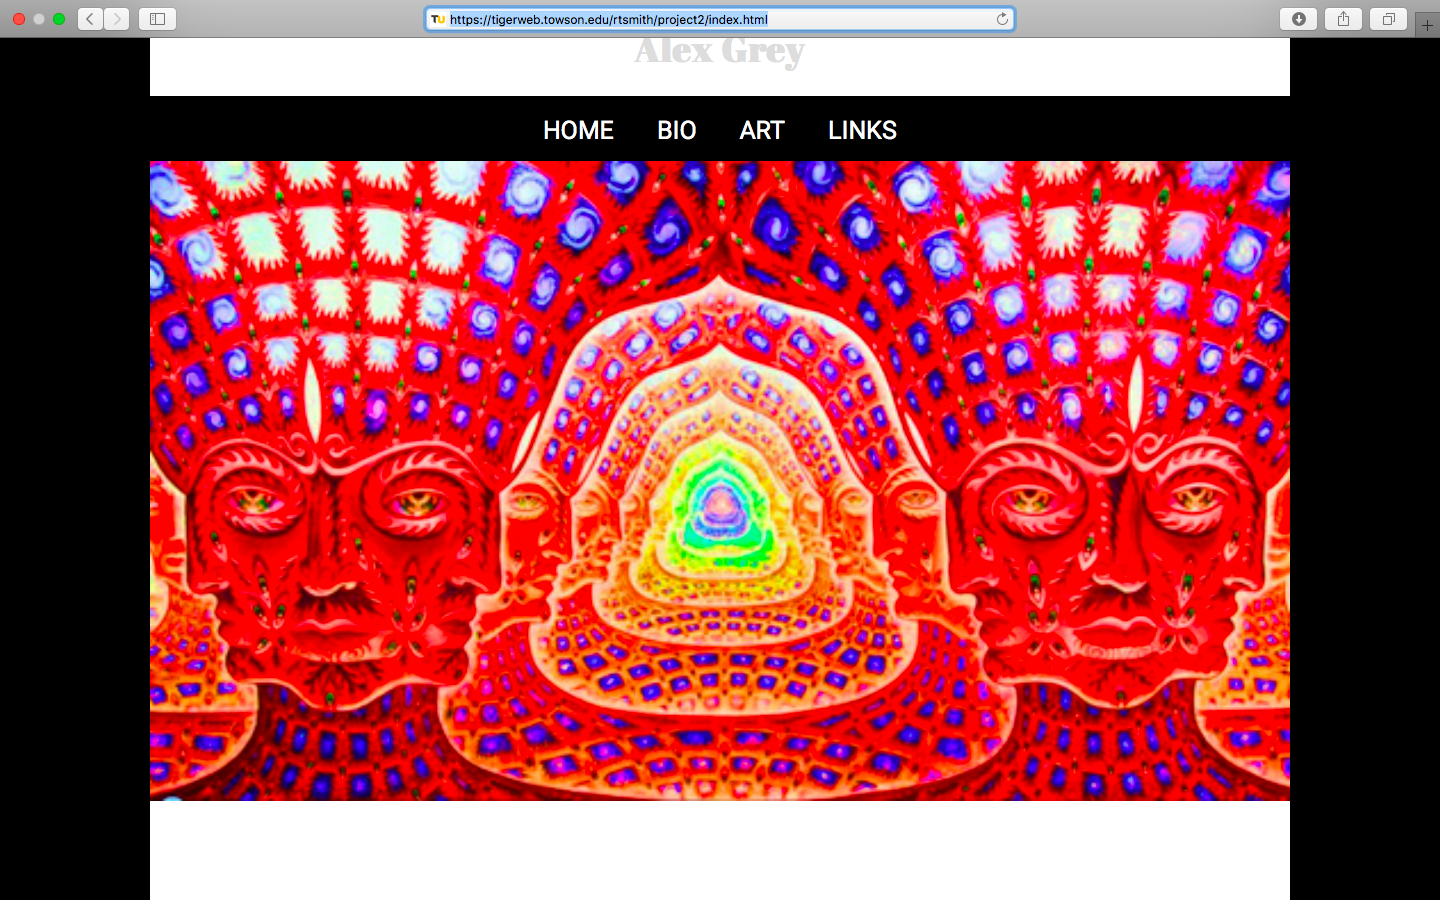
- Example: tigerweb.towson.edu/rtsmith/project2/index.html
- I can then create links to my sites:
https://tigerweb.towson.edu/rtsmith/project2/index.html
- If I want to update the first page of my "project2", I would make changes to the index.html page in the "project2" folder.
- However, you don't want to get this confused with the index.html page in the "root" directory.
- Pay attention to folder names and file names
- If I want to update my "bio" on my index.html page, I would need to connect to Towson's server, and make sure I'm putting index.html in my root directory: "rtsmith"