Animated GIF
Overview
In this lab we will continue to use Photopea to create an animated GIF. A GIF (or Graphics Interchange Format) is an image file that uses lossless compression and does not degrade the quality of the image. An animated GIF is a GIF file that includes multiple images or frames to create a moving image that is played back in sequence when viewed
We will be taking the .psd file from our previous assignment and manipulating one layer at a time to create multiple images. These multiple images will be combined in Photopea to create a gif of our original drawing.
Procedure
- Open an internet browser on your computer and go the site https://www.photopea.com/ .
- Select Open From Computer. Open the .psd file you created in the previous assignment (Drawing Digitally with Layers)
- You should now see your previous alien or monster drawing open on your screen. We will be choosing one layer at a time to make a slight change to the original image and then saving each file as a jpg to the computer.
- Let’s start by saving the first (or original image) to our computer as a jpg. Go to File, then select Export As JPG. Save this image to your desktop or H:Drive. Rename this file to add a 1 after its original file name, such as BohleAlien1.jpeg.
- Now, return to your original image in Photopea. Select one of your creature’s layers in the side panel or by directly clicking on the part you want to move on your canvas with the arrow selection tool. Move the image slightly. Try moving the eyes in a different direction, an arm up or down, or make the creature smile or frown.
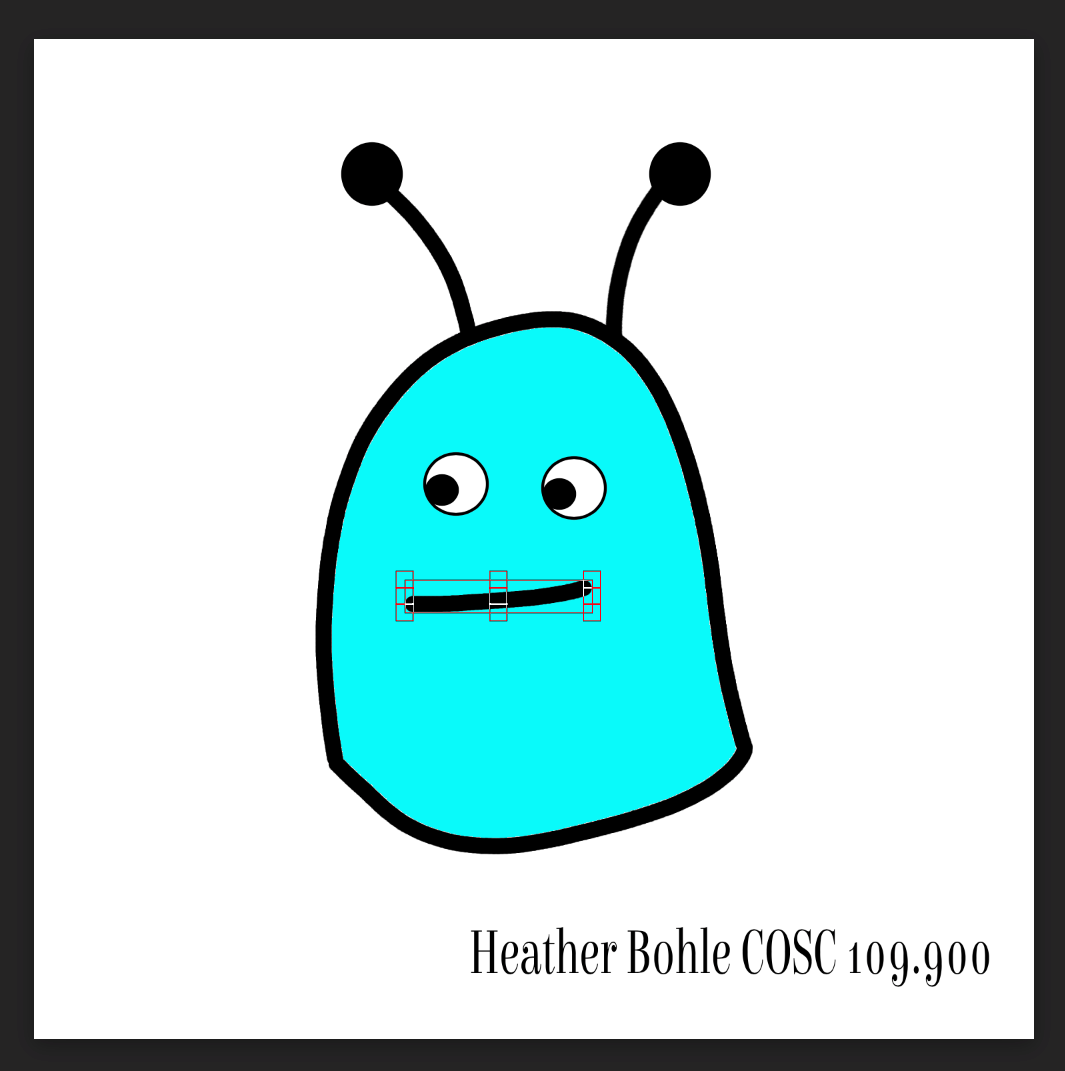
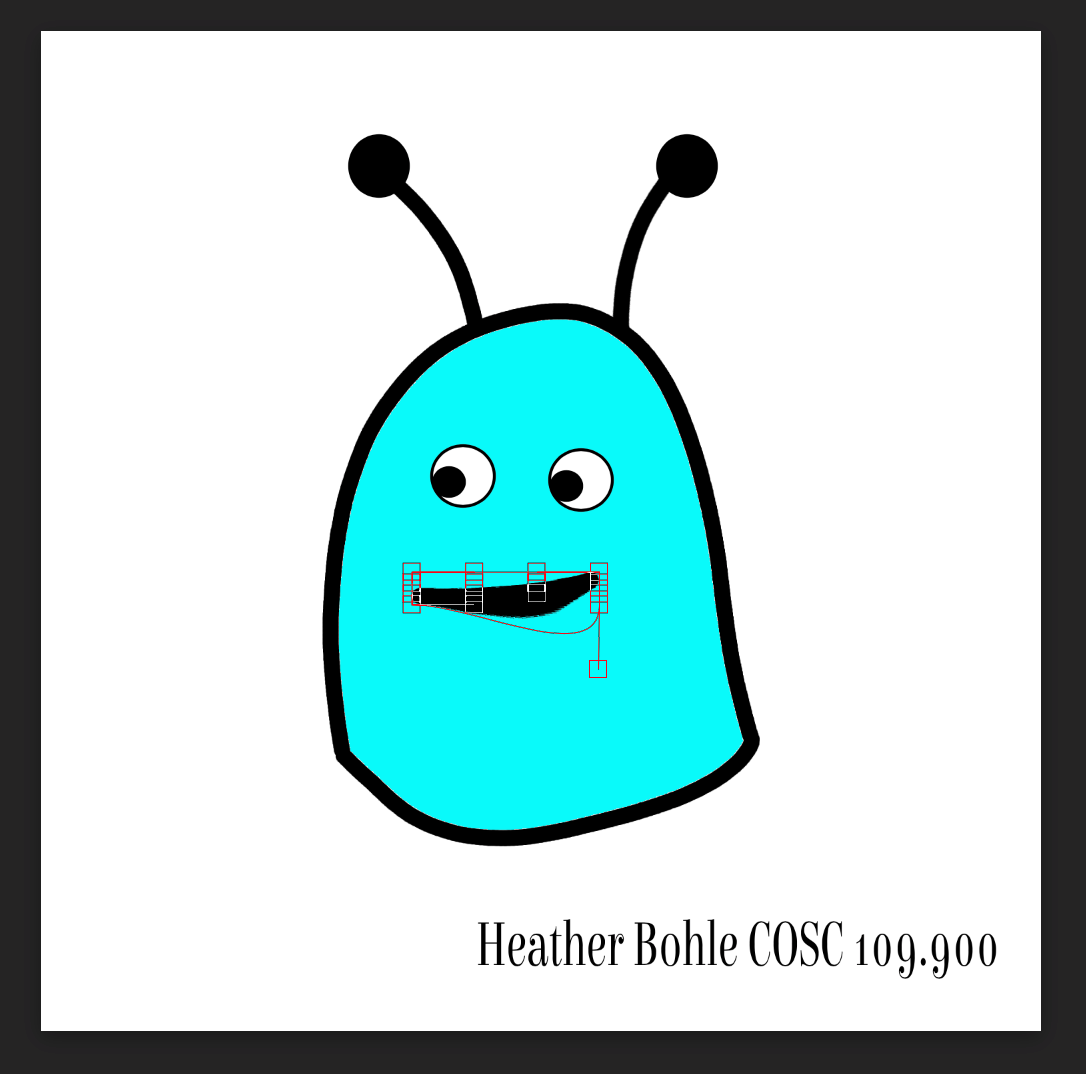
- There are several ways you can move the objects you created in your layers. You can select the object and move it somewhere else on the screen. You can select a freehand drawing or object and then click on the drawing/object again until you see a left-leaning double arrow appear. This allows you to make the object bigger, smaller, or rotate it. You can additionally select the Warp tool located at the top of the screen and further manipulate the object. (If you do choose to warp the object, you will need to hit the return key to accept the changes.) Feel free to try different things and be creative!
- Once you finish slightly moving your alien or monster, save the image again as a .jpg and rename it to add a 2 after its original file name, such as BohleAlien2.jpg
- Return to your original .psd file by either reopening the file in Photopea or by selecting Edit then Step Backward until you return to your original drawing.
- Continue slightly moving your creature a little bit at a time and saving each image as a .jpg until you have at least 5 different .jpg files. We will now compile all of the files into Photopea to create an animated gif
- In Photopea, select File then New at the top of the screen to create a New Project. Name the file with your last name and either Alien or Monster. Example: Bohle Alien. Make sure your canvas’ height and width are 1500x1500px and select Create. You should have a new blank canvas on your screen.
- Now, find your saved .jpg files and click and drag each one at a time onto your canvas (you can also use the "File/Open&Place" option from the file menu. Each image will now have turned into a separate layer on your canvas. You should have a total of 5 layers and a background layer.
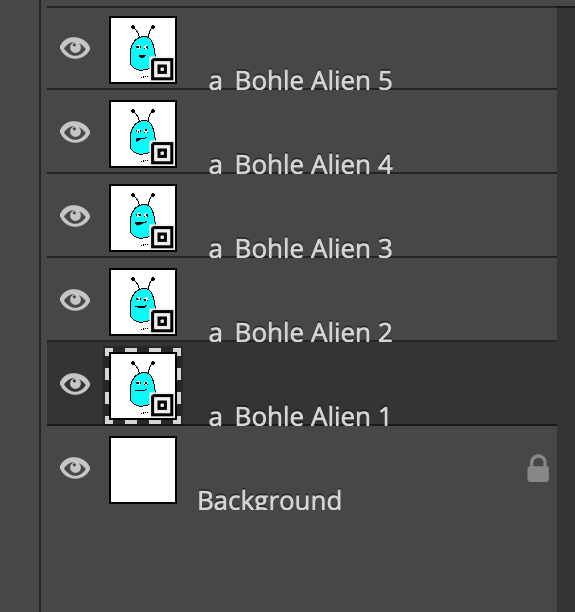
- We will create our animation by turning our layers into frames. Layers
all appear on the screen at the same time, but frames will cause each layer
to play one after the other and thus create an animation. To create a frame, we want to rename each of our layers so that the layer name starts with _a_. Example: _a_BohleAlien1. Change the name of your layers by double-clicking on each layer name, add _a_, and hit return. You do not need to add _a_ to your Background layer.
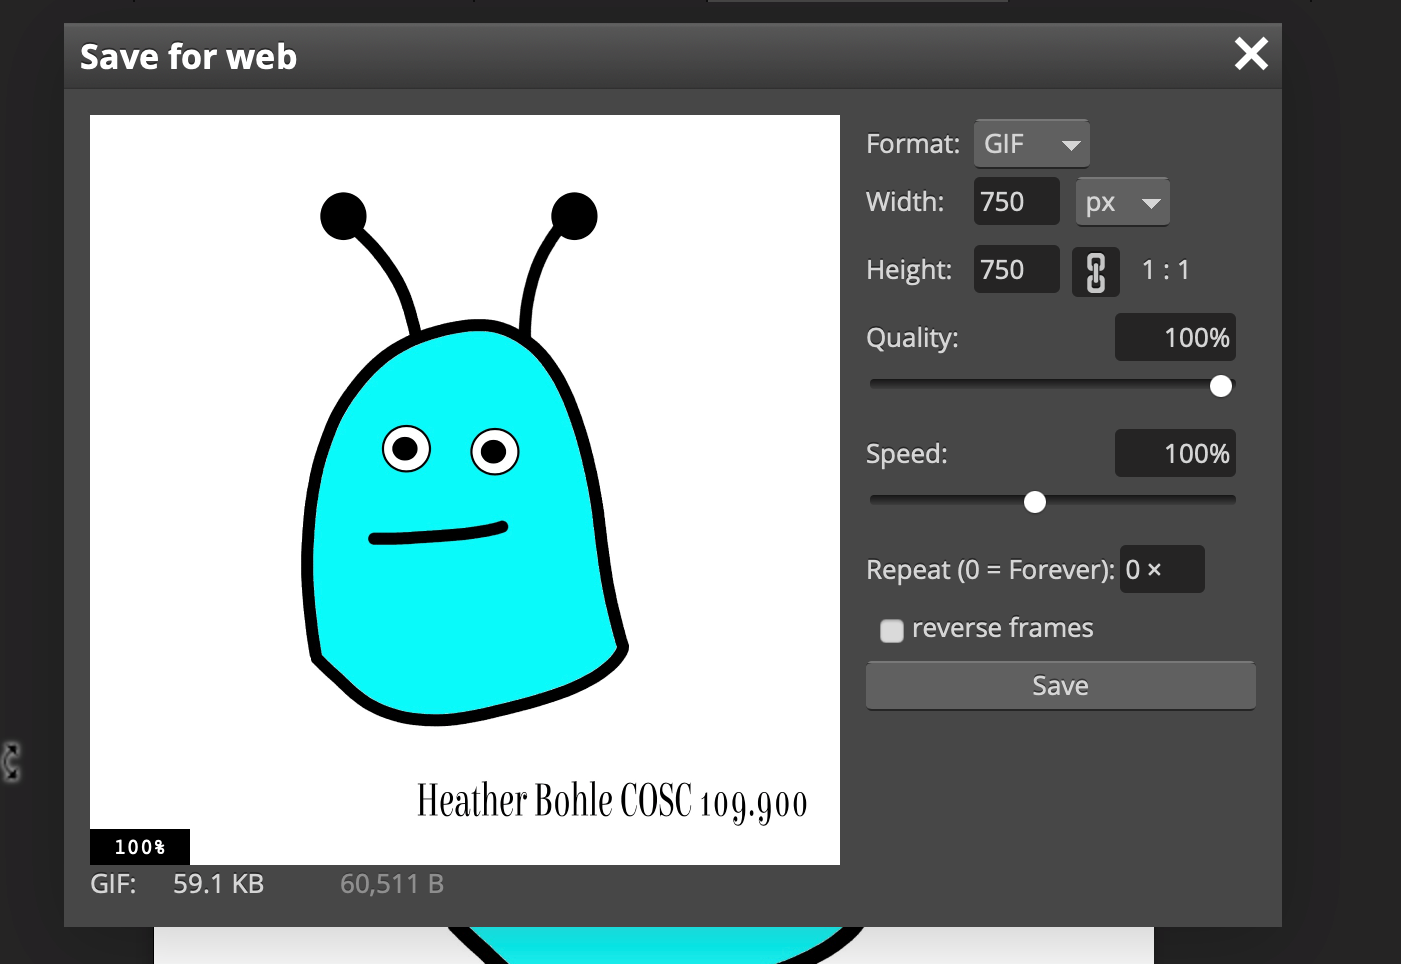
- We are now ready to export our drawing as an animated GIF. Go to File and select Export as GIF. You might receive a message that your image is too large and needs to be compressed. Select Ok. You will notice that your GIF is moving way too fast. Adjust the Speed by using the slider. Pick a speed that works best for your animation. You can also select Reverse Frames if you want your GIF to run backwards. Make sure to set your animation to repeat forever. After you are done setting your frame rate, select Save.
- Your file should be download on to your computer. When you open your file, you may notice that it is not animated and only displays each individual image file. That’s ok. Right-click on your file and open with your browser of choice (or drag your file into an open browser window). Your animated GIF will now appear online and you can see it in action!
Create an animated GIF from the drawing you created in the previous assignment (Drawing Digitally with Layers)
Grading Criteria
- animated GIF file (must be gif format)
- GIF must move at least 5 times
- GIF must show different elements moving (such as eye(s), nose, ear(s), etc)
- must repeat forever (run continuously)
- GIF must contain name and class section
Submitting your file
- Access Blackboard and login.
- Select Discussions
- Select the Animated GIF discussion.
- If you like, browse the other messages.
- Enter your message in the Response Field
- Message: Share something about your work. What were your experiences creating this project?.
- Attach your .gif file. You can add your file by using the attchment button (the paper clip on top, and then navigate to the location of your file), or you can simply drag and drop your file (from your local computer location into the response field)
- Your message and file should now show in the response field.
- Press Respond
- Check your work
©2025 by Heather Bohle