Drawing Digitally with Layers
In this lab we will be using Photopea to create a digital drawing through the use of layers. Layers are used in digital images or drawings to create a “stacking effect.” You can move each layer of your drawing independently or add/delete layers to create your desired effect. Layers can also be rearranged so that one layer sits above or below another layer.
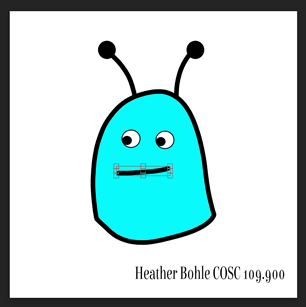
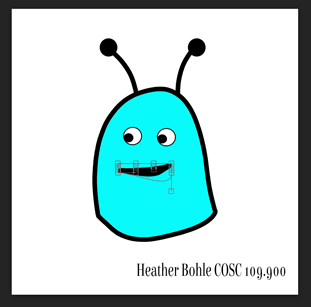
For this assignment, we will be creating an alien or monster by drawing each part of the creature one by one through the use of layers. We will be naming each layer and creating a cohesive image through the combination of separate layers. We will save the creature with layers and as a flattened image. When you flatten an image, you merge all visible layers into the background layer to reduce file size. Your two digital drawing files should be uploaded separately to BlackBoard.
Procedure:
Draw an alien or monster through the use of layers.
- Open up an internet browser on your computer and go to photopea.com.
- Select New Project.
- Name your project (Last name and alien or monster, example: BohleAlien).
- Change width and height to 1500x1500px.
- Select Create.
- Select Layer, then New, then Layer. If you look to the right-hand side of your screen, you will see a new layer has been created (Layer 1).
- Rename your layer by double-clicking on Layer 1. This can be any name that will help you remember what layer it is such as alien body. Press enter once you have finished renaming your layer.
- Now, let’s draw our first layer. Start by drawing the body of your alien or monster. Select the shape tool by clicking on the rectangle icon located on the left panel. You can select a different shape by right-clicking on the rectangle icon. Now, choose a color and/or outline color for your shape. At the top of the screen, click on Fill to change colors and/or Stroke to add an outline. Click and drag on your canvas to create a shape for your creature’s body.
- Select the Arrow icon on the left-side panel and feel free to move your shape on the canvas or resize it. You can also select Edit then Undo, located at the top of the screen any time you want to go back.
Continue drawing your alien or monster.
- Now that we have created a body, continue adding shapes or parts to your creature by adding one layer at a time. Remember to rename each layer as you go. If you are creating two of something, such as two eyes, you can right click on that layer and select Duplicate Layer. This will create an identical copy of the layer. Use the arrow tool to select the copied layer and move it around on your canvas.
Make sure to create a new layer for every part of your drawing. We will be animating your drawing in the next assignment and we will need to move each layer later on. Feel free to continue using the shape tool to add different shapes to your alien/monster or use the brush tool to create a freehand drawing. If you want to draw freehand, up your paintbrush’s Smooth level percentage at the top of the screen to create a better flowing line. You can also use the paint bucket tool to change colors. Be creative!
- At this point, you should have a completed creature with many different layers making up its various parts. Play around with your creation by selecting different layers and using the arrow tool to move them around on the screen. You can also click and drag a layer above or below another layer. See what happens when you try it!
- Let’s finish by adding our name and section number to the bottom of our drawing. Add a new layer and select the text tool on the left panel (letter T icon). Click on your canvas and type your name and section number.
- Save your work first as a .psd file. This will save all of the layers you have created and allow you to move them to create an animation in our next assignment. Go to File and select Save as PSD. The file should be saved to your downloads on your computer. Either click and drag the file onto your Desktop so you can find it later or add it to your H:Drive.
- Now, let's save your work as a flattened image. Go back to your drawing and under Layer at the top of the screen, select Flatten Image. All of your layers have now merged into the background to create one image. Go to File and select Export as PNG and select Save. Again, save the image to your Desktop or add it to your H:Drive. You’re all done!
You should now have a blank canvas on your screen. Let’s draw our first layer.
- 2 image files (Original .psd file with layers and flattened .png image file). (4 points)
- Original image mustcontain multiple named layers. (2 points)
- Flattened image must contain name and class section. (2 points)
- Properly and timely submitted assignment. (12 points)
Submitting your file:
- Access BlackBoard and login.
- Select Course Documents, then Assignments.
- Click on Drawing Digitally with Layers and attach a file by clicking on Browse My Computer.
- Upload your PSD file and PNG file.
- Press Submit.
- Check your work!
© Anup Patel